What is a note ?
A note is editable text on the lab where you can include views, images, formulas... It can be a simple note, a page of your electronic laboratory notebook or a scientific note that you can write to present the results of your scenario. These notes can be stored and sync within a folder (in your space), allowing your team to access them.
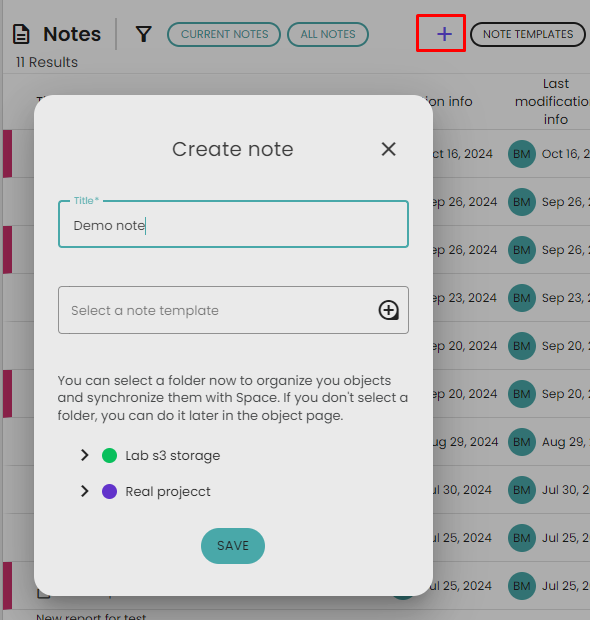
To create a note, you can follow these steps:
- Open the
Notes page.
- Click on the
+ button located in the top right corner.
- Provide a title for your note.
- You have the option to associate the note with a folder (required for synchronization with the folder's space). You can do this later.
- Click
Save.
- This will open the note page, where you can start writing your note.
How to associate a note with a scenario ?
You can link a note to one or more scenarios, which makes navigation easier and allows you to include views of the associated scenarios' results in your note (refer to How to add a view to a note ?). When a note is synchronized with your space, all the associated scenarios are automatically synchronized as well.
To associate a note with a scenario, follow these steps:
- Open the
Note page.
- In the
Associated scenarios section, click on the + button.
- Choose the scenario you want to associate and click
Save. Please note that the scenario and note must belong to the same folder.
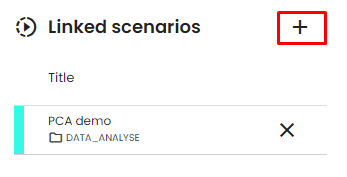
You can dissociate a scenario from a note by clicking on the X button next to the respective scenario.
How to add a view to a note ?
You can incorporate views of your scenario results directly into your note, making it more interactive and informative. There are two ways to add views to a note.
To add a view from the view itself (recommended), follow these steps:
- Open the view of interest from the
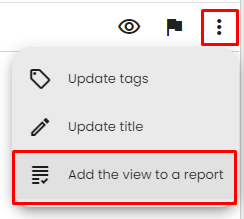
Playground, Resources, or Views. - In the view menu
⁝, click on Add the view to a note. - Select the note where you want to include the view.
- The view will be added at the end of your note. When adding the view this way, the scenario that generated the resource is automatically associated with the note.
To add a view from the note page, follow these steps:
- Open the
Note page. - Note that you can only add views from resources of associated scenarios. Make sure you have associated the correct scenarios before adding a view.
- On a new line in the note, click on the
+ button and search for Resource view button.
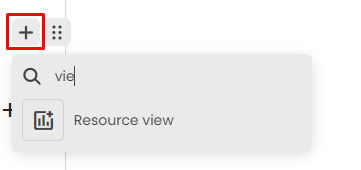
- This will open the views list, which displays a history of generated views. You will only see views of results from associated scenarios. If you don't see your desired view, check the
Include not flagged views option in the search. You can only access views that you have already generated. - For each view, you can use the preview button to see it before adding it to the note.
- Once you have found your desired view, click on it to add it to your note.
You can adjust the position of the view using the drag button in the text editor. After adding the view, you can set a title and description for it.
To remove a view, you can delete it like any other element in the note.
How to manage a note ?
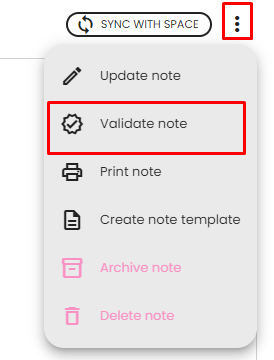
Here are the different options to manage a note when click on menu button ⁝ :
- Update the note: This option allows you to update the title and the folder associated with the note.
- Validate note: This option allows you to mark the note as validated. Refer to How to validate a note ? for more information on how to do this.
- Print note: This option enables you to print the note. It is useful for converting the note to PDF format. However, it is recommended to share the note using the folder in the space. Sharing the note allows you to retain its interactivity.
- Create note template: create a note template for the current note. Template can be used when creating a new note or can be inserted in an existing note.
- Archive note: This option archived the note, hiding it by default in note search.
- Delete note: This option permanently deletes the note. Please note that this action is not reversible, so exercise caution when using it.
How to synchronise a note ?
Synchronization allows you to sync a note with your space. When you sync a note, it also sync all the associated scenarios.
To synchronize a note with your space, follow these steps:
- Open the note that you want to synchronize.
- Check if the note is attached to a folder. If not, please refer to How to manage a note ? section to associate it with a folder. The note must be associated with a folder before synchronization to be correctly located in your space. You must have access to the folder in the space to be able to sync the note.
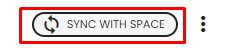
- Once the note is associated with a folder, click on the
Sync with space button. If the button is disabled, it means that the note is not associated with a folder.
- After synchronization, the note will be available in your space. Anyone with access to the folder will be able to view the synchronized note.
How to validate a note ?
Validating a note mark it as Validated, and once this is done, it cannot be modified. During the validation process, the note will automatically synchronize with your space (refer to How to synchronize the note ?). All the associated scenarios are automatically validated. It must be associated with a folder in order for it to be validated.
To validate the note, follow theses steps :
- Make sure the note is associated with a folder. If it is not associated with a folder, please refer to the instructions on Manage the note to associate it with a folder.
- Ensure that the note is in its desired and final state, as validation is not reversible.
- Click on
Validate note button
- The note and associated scenarios will be marked as validated, and they will be locked from further modifications. The validated note and scenarios will be stored and accessible in your space for traceability purposes.