Just like in notes, you can add views to stories and community documentations. To do this, first download the view file, and then import it into the story/documentation.
Here is an example of a digital view in a documentation:
Downloading a View File
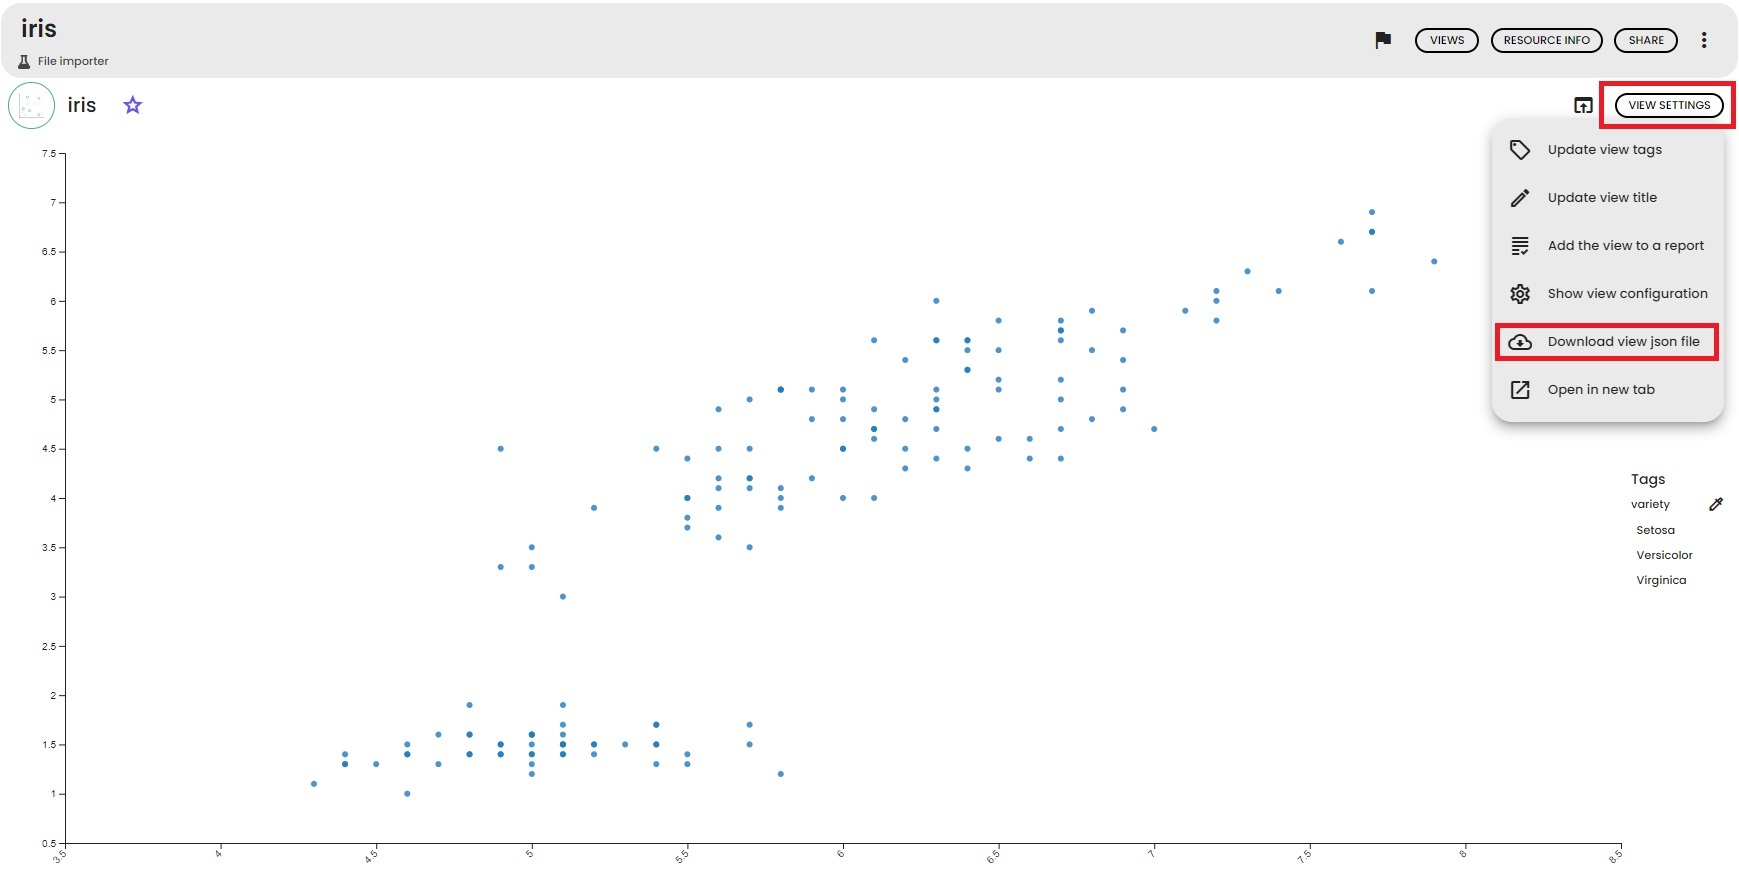
- Locate the Desired View:Go to the data lab and navigate to the specific view you wish to export.
- Access View Settings:Click on the "View Settings" button. This will reveal additional options for the view.
- Download the View:Click on the "Download view json file" button within the settings menu. This action will download a JSON file, which contains the specifications of your selected view.
Importing a View into Stories/Documentation
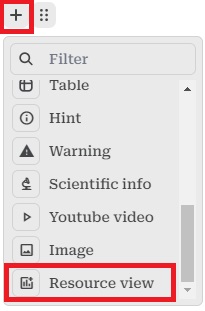
- Add a Resource View Block:In your Community story or documentation, insert a Resource view block where you want the view to appear. This option is typically available in the editing toolbar or through an "Add Block" menu.
- Select the JSON File:A pop-up window will appear prompting you to select the JSON file you downloaded earlier. Use this file selector to locate and select the JSON view file on your local system.
- Import the File:Once you've selected the JSON file, confirm the import. The view should now be embedded into your story or documentation, displaying it as part of the visual content.