Introduction
The dev environment is useful to develop and test tasks, protocols, resources or views. This is a completely independent environment than the normal one which means that the experiments, resources and files of the production environment do not exist in the dev environment.
 ▶
▶The dev environment includes the Codelab. Codelab is a pre-configured online IDE using VsCode. You can easily develop your brick or any code with python and quickly test it. It also supports jupyter notebook files and a R environment can be simply installed.
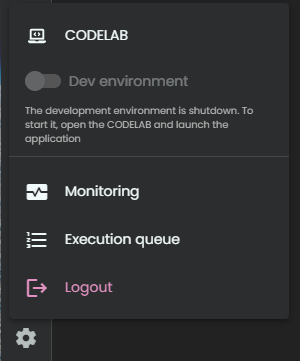
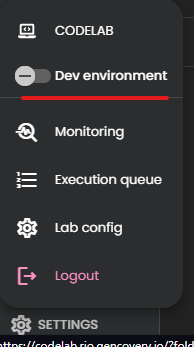
To activate dev mode, open the lab. Click on the settings button and you should see the Dev environment button disabled. This means that the dev server is not started. If the button is not disabled, the server is started, and you can switch to the dev environment in the interface. If you did not activate it or want to stop it, see Stop dev server .
Open Codelab
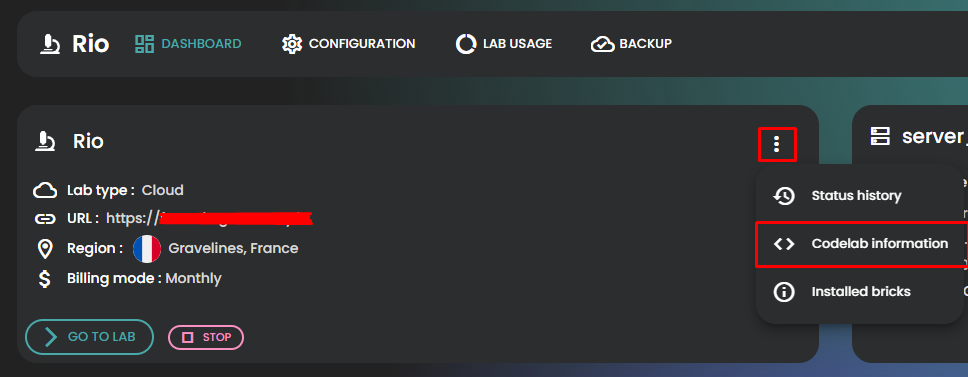
From your lab, go in the Codelab (Settings > CODELAB). This will required a user/password to login. You can find them in your lab detail page (in your space) by clicking on Codelab information . You can also access the Codelab user from the Codelab information popup.
Architecture
The Codelab shoud be opened in the folder /lab/user, if your are not in this folder, please open it (using VsCode menu).This folder should look like this

Here is the list of the folders and their roles in the folder :
- __pycache__ : cache used by python(to ignore)
- .vscode : configuration file for
VsCode - bricks : the most important folder. This is where you can add the bricks you are currently working one (using git clone). All the bricks in this folder, will be automatically loaded in the dev environment. More information here : Create a brick.
- data : a folder where you can drop you file to test code directly in
VsCode (in a jupyter notebook for example). - notebooks : a folder to create your jupyter notebook files. This can also support R code.
Start dev server
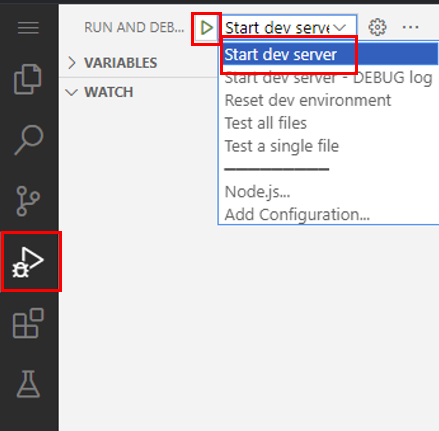
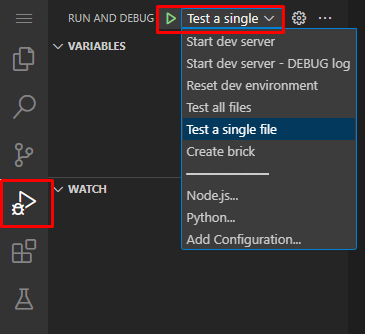
To start the dev server you will need python extension for VsCode, it is install by default in the Codelab. On the left menu, click on Run and Debug. Then on the top, select Start dev server and click on execute (green arrow).
There should you be messages that appears in the terminal after few seconds :

The last one : INFO: Uvicorn running on http://0.0.0.0:3000 (Press CTRL+C to quit) means that the server is started and the dev environment is ready.
A small popup should have appeared also in vscode (on top). This popup means that a program is running and ready to be debugged.
Start dev server manually
When running the dev server using VsCode the execution of the dev server will be attached to VSCode. This have 2 drawback :
- as VsCode enables the debugger (see Using debugger), the execution will be significatively slower.
- if you close the VsCode browser tab, the dev server will be stopped along with your running experiments.
To prevent this you can start the dev server manually using the terminal. VsCode will not be linked to the execution of the dev server. To do so, open a terminal in VsCode and run : python3 /lab/.sys/app/manage.py --runserver
Activate dev environment in the web interface
Once the dev server is running, go back to the lab and click again on the settings button. The « Dev environment » button should be enabled:
Click on the button and the page should reload. You can see that you are in the dev environment with the menu color (it should be purple).
You can now test your code! Note that the server must be restart for the modification to be active. See create your a brick documentation for more information : https://constellab.community/tech-doc/doc/developer-guide/brick/create-a-brick
Stop dev server
To stop the dev server open the codelab and click on the red square in the small popup

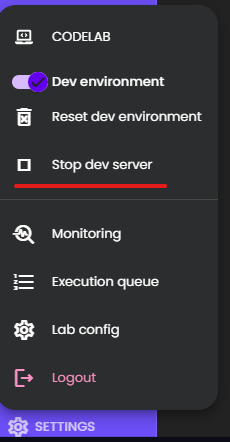
If you don’t have access to the codelab or the popup is not there you can force the dev server to stop from the interface. In the dev environment, click on the Settings button and click on the Stop dev server button.
Run a test file
To run a test file in Codelab, follow these simple steps:
- In Codelab look at the menu on the left. Click on
Run and Debug.
- At the top of the screen, you'll see options. Choose
Test a single file and click on the green arrow to execute.
- It will ask you for the file you want to run. Type it in this format:
[BRICK_NAME]/[FILE_NAME]. For example, gws_academy/test_table_factor.
- Enter the correct input for your file and press enter.
If you want to run all the tests for a specific brick, follow these steps:
- In the
Run and Debug menu, select Test all files.
- Set your brick name.
That's it! You've successfully run your test file or all the tests for a brick in Codelab.
Frequently ask questions
Why can’t I log into the Codelab with my usual username and password?
When you open the Codelab, the browser asks you to log in. This login is not the same as your usual account. The Codelab has its own username and password. So, it is normal that your usual login does not work here.
To log into the Codelab, please follow this guide:
How to open the Codelab
